A new split system air conditioner can make a hot bedroom or living room far more comfortable, but how well it works depends a lot on the installation. A little preparation helps you avoid poor unit placement, surprise electrical costs and drainage problems.
This guide covers what to decide before you book, where the indoor and outdoor units should go, what to check with your power supply and walls, how to get your home ready on the day, and what to check before the installer leaves.
Quick answer
To prepare for split system installation, confirm the right unit size, book a licensed installer, and agree on where the indoor unit, outdoor unit, pipes and condensate drain will go. Ask an electrician whether you need a new circuit, and get any landlord or strata approval you need. On the day, clear and protect both work areas and make sure the installer can reach them. Before the installer leaves, check the system cools (and heats, if reverse cycle), water drains outside, and you have the paperwork and warranty details.
What happens during a split system installation?
Knowing the steps makes it easier to plan and to ask good questions. A typical installation of a single wall-mounted unit looks like this:
- Site check. The installer confirms where both units will go and how the pipes, cable and drain will run between them.
- Indoor unit. A metal mounting plate is fixed to the wall and a hole is drilled through it for the pipes, cable and drain.
- Outdoor unit. The unit is placed on a level pad, feet or wall bracket.
- Connections. Copper refrigerant pipes, the interconnecting cable and the drain hose are run between the units and sealed through the wall.
- Leak testing and evacuation. The installer pressure-tests the pipework for leaks, then uses a vacuum pump to remove air and moisture before releasing the refrigerant.
- Electrical connection. The unit is connected to a suitable power supply, usually by a licensed electrician.
- Commissioning. The system is switched on and tested, and you are shown how to use it.
A single unit in a straightforward position is often installed within a day. Back-to-back installs (where the outdoor unit sits directly behind the indoor unit) are usually quickest. Long pipe runs, two-storey homes, new circuits and multi-split systems take longer.
Before you book: four decisions to make
1. Confirm the right size and type
A unit that is too small struggles on hot days. One that is too large cools quickly but switches on and off often, which wastes energy and leaves the room feeling clammy. Size depends on room size, ceiling height, insulation, windows, which way the room faces and your climate, not floor area alone.
Ask the installer to look at the room before quoting. If you are still choosing between a split system and other options, our guide to the benefits and trade-offs of split system air conditioners explains sizing, inverter models and reverse cycle heating.
2. Choose a licensed installer
Split system installation involves refrigerant and fixed electrical wiring, so it is a job for licensed professionals. The rules depend on where you live:
- Australia: Handling refrigerant without a refrigerant handling licence issued through the Australian Refrigeration Council (ARC) is an offence. Electrical work must be done by a licensed electrician.
- Elsewhere: Most countries regulate refrigerant handling and electrical work. Check the licences required where you live before you book.
Before you agree to a quote, ask for:
- The exact model and capacity being installed.
- What is included, such as pipe length, wall bracket, electrical work, drain route and removal of an old unit.
- Where each unit will go and how the pipes and drain will be routed.
- The licence numbers of the people doing the refrigerant and electrical work.
- What the product and installation warranties cover, and whether the warranty requires a licensed installer or regular servicing.
Getting two or three written quotes makes it easier to compare what is included, not just the price.
3. Get any approvals you need
A split system means a permanent hole in an external wall and a visible outdoor unit. If you rent, get written permission from your landlord. If you live in an apartment or townhouse, check with your strata, owners corporation or body corporate before you book. Some councils also have rules about outdoor unit placement or noise, especially near boundaries.
4. Decide who handles each part of the job
Some companies handle everything. Others leave the electrical work to you. Clarify this upfront so nothing is missed.
| Task | Who usually does it |
| Sizing and choosing unit locations | Installer, with your input |
| Mounting units, running pipes and drain, leak testing and evacuation | Licensed air conditioning technician |
| New circuit, isolating switch and final electrical connection | Licensed electrician (sometimes part of the installer’s team) |
| Approvals, clearing the area and access on the day | You |
Choose the best spot for the indoor unit
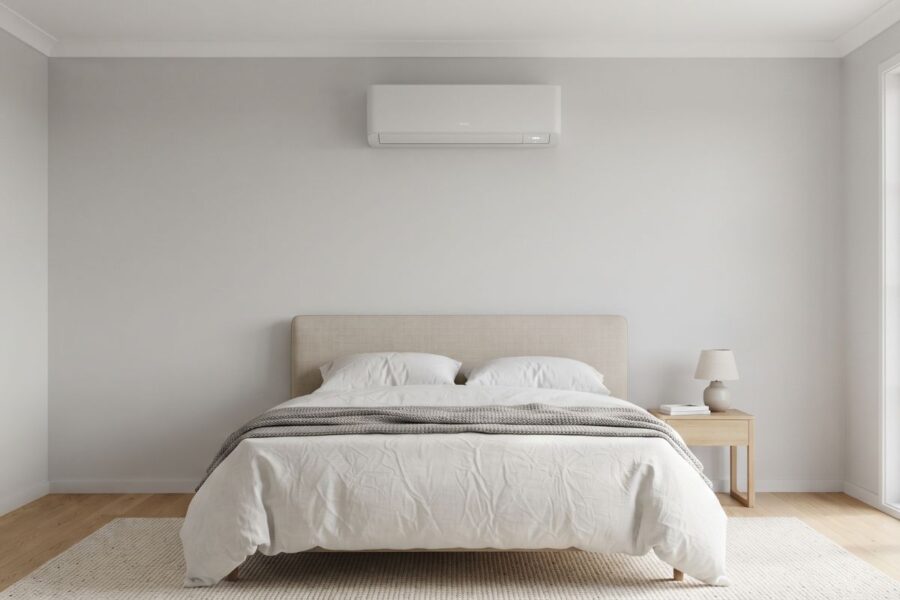
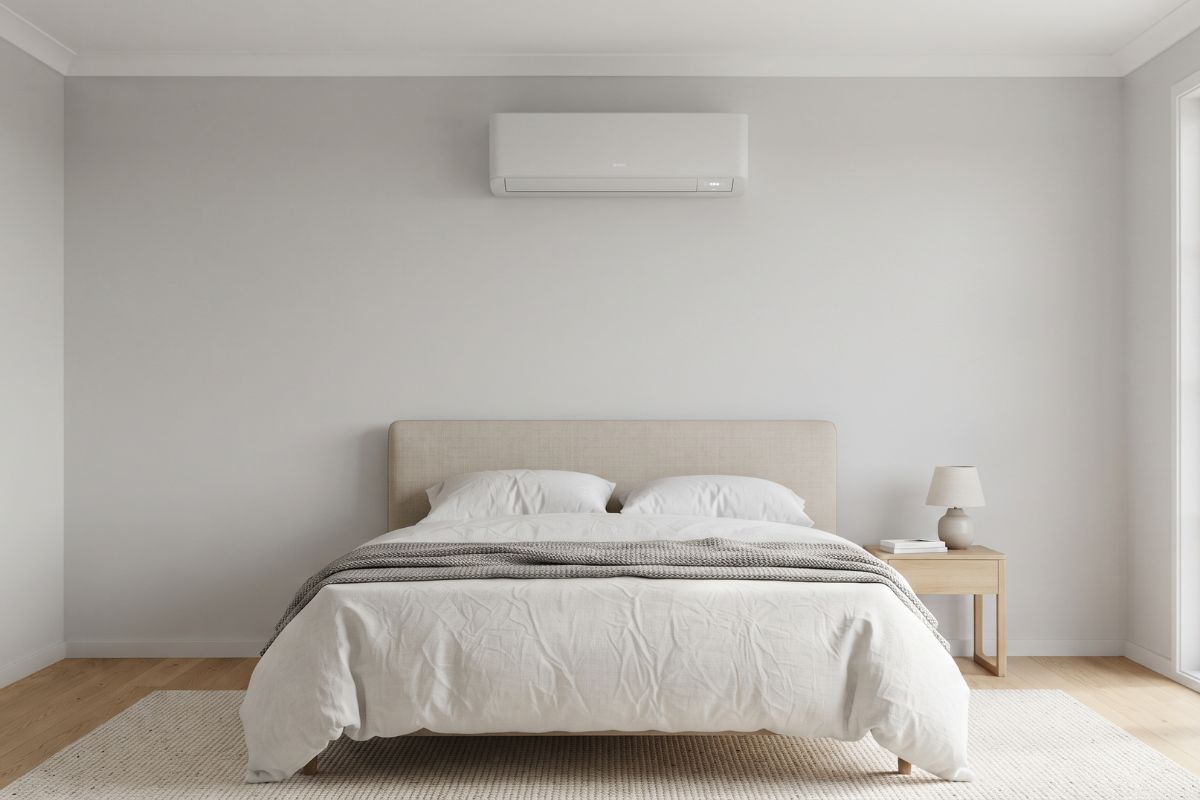
The indoor unit works best where it can push air across the whole room without obstruction. Look for a spot that is:
- High on a wall, with the gap to the ceiling and side walls that the installation manual specifies, so the unit can draw air in.
- Facing the space you use most, such as across a living area or along a bed rather than directly over the pillows.
- Clear of obstructions like tall cupboards, curtains, shelves or ceiling fans that would block airflow.
- Away from heat sources, such as ovens, heaters or walls that get strong direct sun.
- On an external wall where practical. This keeps the pipe run short and makes it easier to drain water outside.
- Easy to reach so you can open the front panel and wash the filters.
Remember that a wall-mounted split cools the room it is in. Cool air does not travel well through doorways, and not at all through a closed door, so one unit will not cool several closed rooms.
Choose the best spot for the outdoor unit
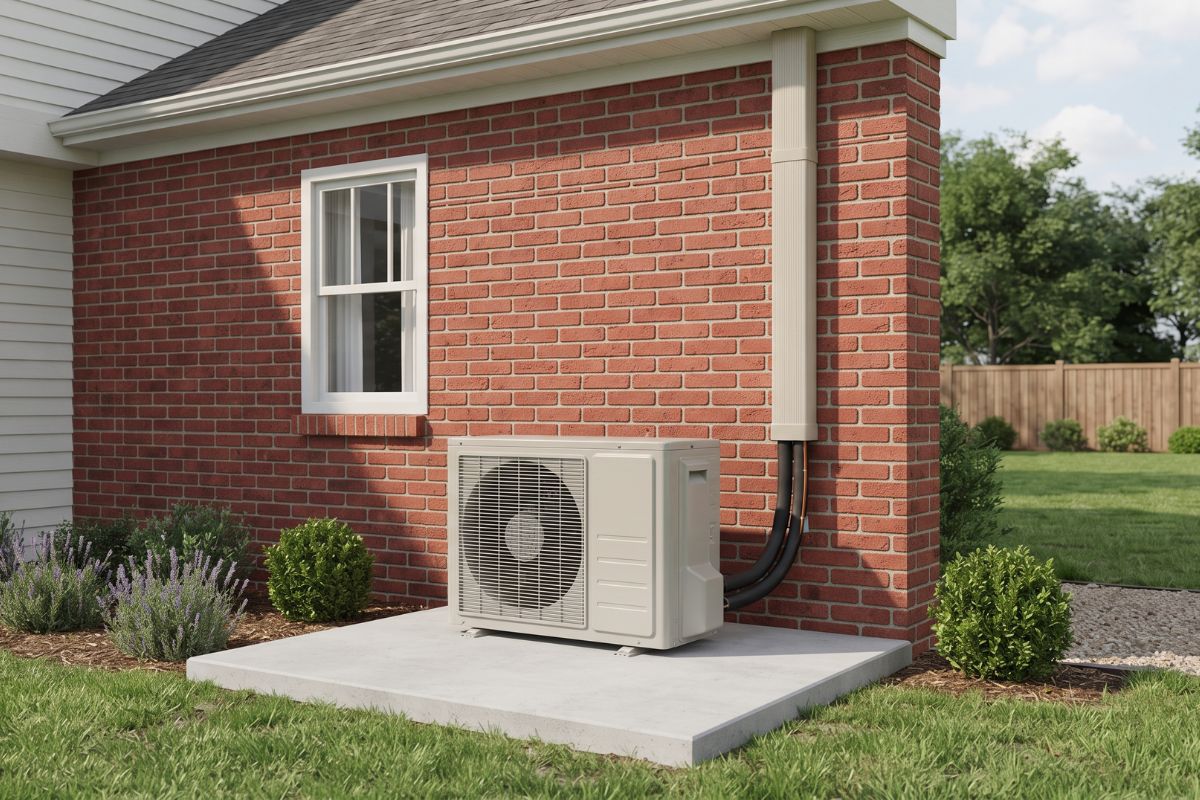
The outdoor unit releases heat from your home, so it needs good airflow above all. Choose a spot that is:
- Open, with clear space around it. The installation manual lists minimum clearances on each side. Do not box it in with fences, plants or storage.
- On a solid, level base, such as a concrete pad, rubber feet or a strong wall bracket, to limit vibration and noise.
- Away from bedrooms and neighbours’ windows, as the compressor and fan make noise.
- Accessible for servicing, so a technician can reach it safely.
- Away from doors, paths and roof run-off, where water from the unit or the gutter could cause problems.
- Shaded if possible, without blocking airflow. Shade can help on very hot afternoons, but open airflow matters more.
ENERGY STAR’s guidance on ductless heating and cooling also recommends unobstructed airflow, easy service access and keeping the outdoor unit away from doors and windows.
Plan the pipe and cable route
The indoor and outdoor units are joined by insulated copper pipes, a cable and the drain hose, usually wrapped together. Each model has a maximum pipe length and height difference between units, and some have a minimum length too.
A shorter, neater run is usually cheaper and simpler. Longer runs may need extra refrigerant and can cost more. If the units cannot be back-to-back, ask how the pipes will be run and covered. Ducting covers are neater and protect the insulation from sun damage.
Check your power supply
Your electrical system must handle the new load safely. Before installation:
- Check the unit’s electrical requirements in its specifications or installation manual, including the recommended circuit protection.
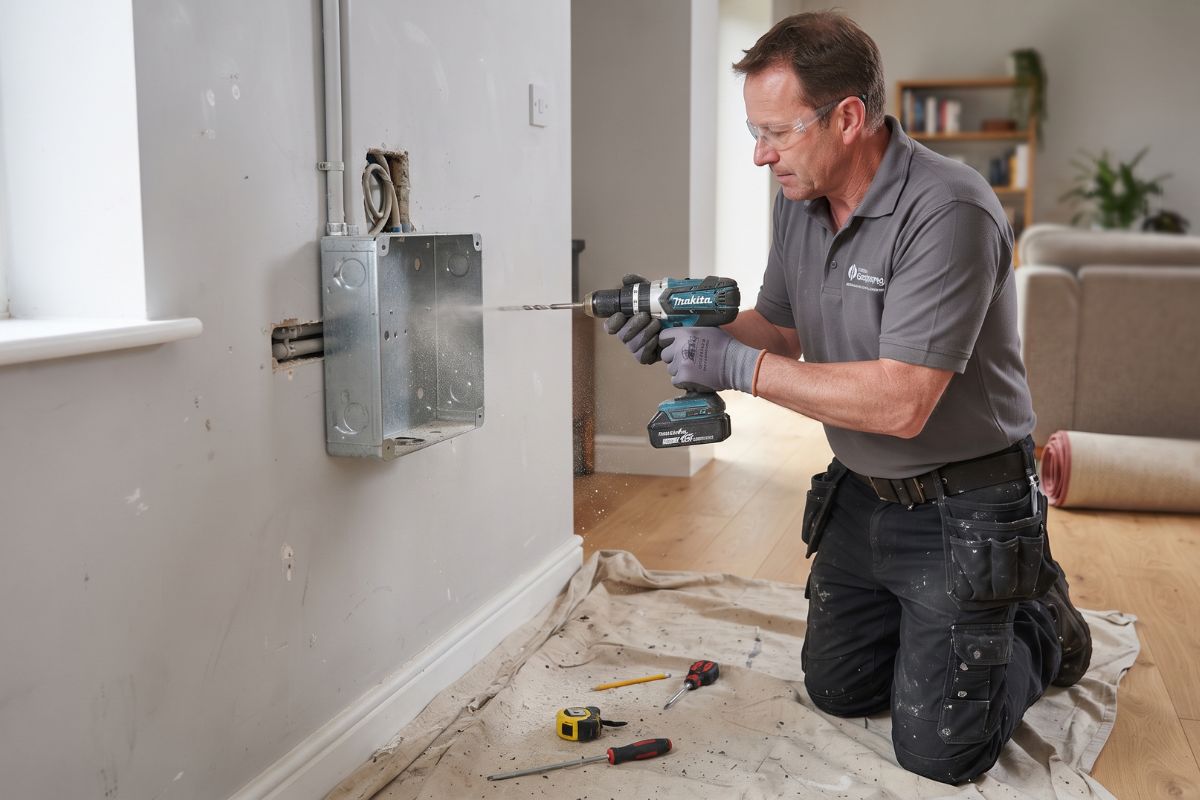
- Ask a licensed electrician to check your switchboard, especially in older homes or if you are adding several units.
- Ask whether you need a dedicated circuit. Many units, especially larger ones, need their own circuit from the switchboard.
- Ask about an isolating switch. Many wiring rules require one near the outdoor unit so it can be switched off safely for servicing.
If your home has older wiring, have it checked before adding a large appliance. Our guide on simple ways to make your home safer explains why outdated wiring is worth an electrician’s attention.
Make sure the wall can hold the indoor unit
The indoor unit hangs on a metal mounting plate. On brick or block walls, the installer uses masonry fixings. On plasterboard (drywall), the plate should be fixed into the wall studs or with fixings the manufacturer approves.
Check the wall before the installer arrives:
- Is there plumbing or wiring behind it? Point out anything you know about.
- Is the wall in good condition, without cracking or damp?
- If you have a heritage home, rendered wall or cladding, ask how the hole will be drilled and sealed.
Plan the condensate drain
As a split system cools, it removes moisture from the air. This water, called condensate, must drain away. The drain hose needs a continuous downhill fall from the indoor unit to the outlet. Any section that rises can trap water, which can lead to leaks or musty smells.
Agree on where the water will go. Common options are a garden bed, a stormwater drain or a suitable outlet, depending on local rules. If the water cannot drain downhill, for example from an internal wall, the installer may fit a small condensate pump. Avoid outlets that drip onto paths, walls or neighbouring property.
Get the room ready to stay cool
A well-sealed room needs less cooling, so the system works less hard. Before installation, check that windows and doors close properly and seal any obvious draughts. Use blinds or curtains on sunny windows, and check your ceiling insulation if the room is under the roof.
Windows and doors make a big difference. If you are planning wider upgrades, our guides to double glazed awning windows and double glazed entrance doors explain how better glazing affects comfort.
Your installation-day checklist
The day before or the morning of installation:
- Clear both work areas. Move furniture, beds, rugs and ornaments at least a couple of metres from the indoor wall, and clear the outdoor spot.
- Protect what you cannot move. Drilling creates dust. Cover furniture and floors with drop sheets.
- Make access easy. Unlock side gates, clear paths, and arrange parking near the house.
- Keep pets and children away from the work areas.
- Make sure the switchboard and a power point are accessible.
- Be home, or have someone there who can confirm unit positions and approve any changes.
Before the installer leaves: what to check
Take a few minutes at the end of the job to check the work:
- Test it. Run the unit in cooling mode, and in heating mode if it is reverse cycle. Cool or warm air should come out within a few minutes.
- Check the drain. Water should drip from the outlet outside, not leak indoors.
- Look at the finish. The wall hole should be sealed, pipes insulated and covered, and both units level and secure.
- Ask what testing was done. A good installer can explain how they leak-tested and evacuated the system.
- Get the paperwork. Keep the invoice, manuals and any compliance certificate required where you live.
- Register the warranty if the manufacturer requires it.
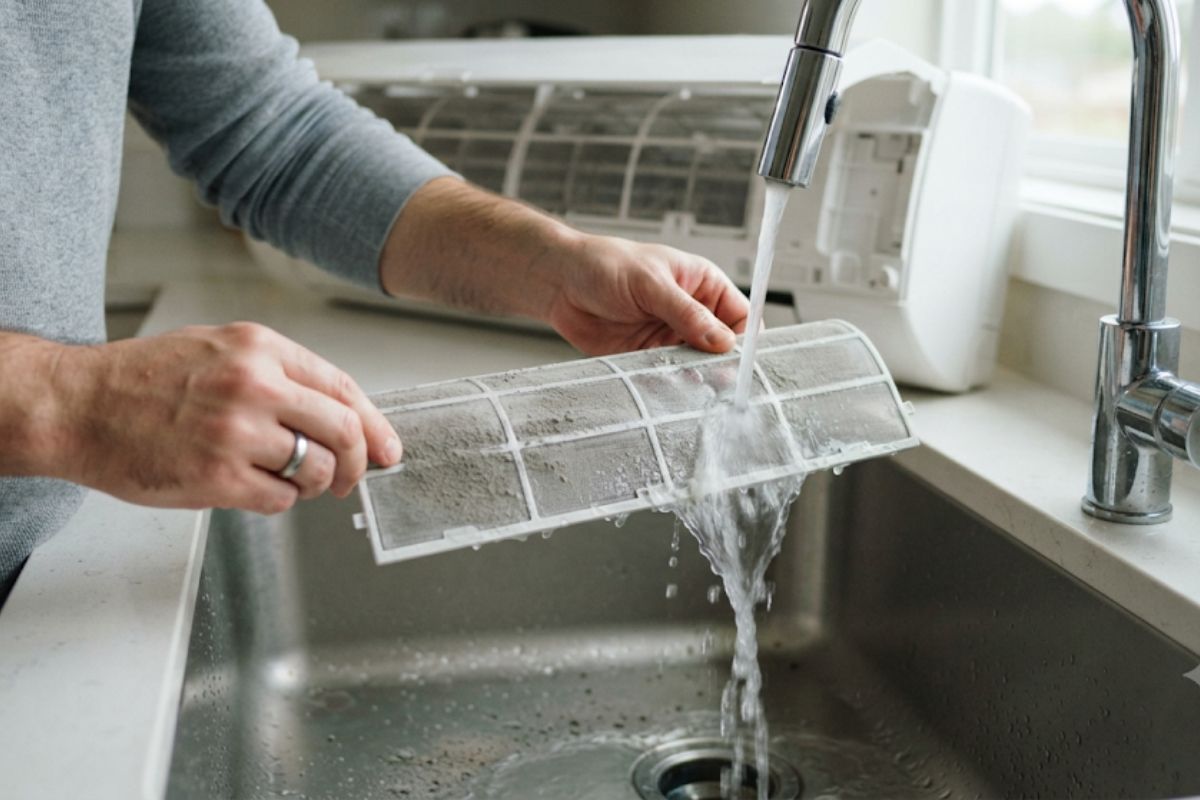
- Ask how to clean the filters and how often to do it.
Plan for maintenance from day one
Regular care keeps a split system efficient and helps prevent smells and leaks. Wash the indoor unit’s filters as the manual recommends, which may mean every few weeks during heavy use. Keep the outdoor unit clear of leaves and plants.
Book a professional service, often once a year, to clean the coil, fan and drain and check that everything works. A correctly installed system is sealed, so it should not need regular refrigerant top-ups. If a technician says your system is low on refrigerant, ask them to find and repair the leak rather than simply recharging it.
Call a technician sooner if you notice water leaking indoors, ice on the pipes, musty smells, unusual noises or a sudden jump in your power bill.
Final thoughts
Preparing for split system installation comes down to a few good decisions: the right size, a licensed installer, sensible locations for both units and a clear plan for power and drainage. Sort these out before the day, then check the work before the installer leaves. For more practical guides to improving comfort at home, browse our home improvement articles.