
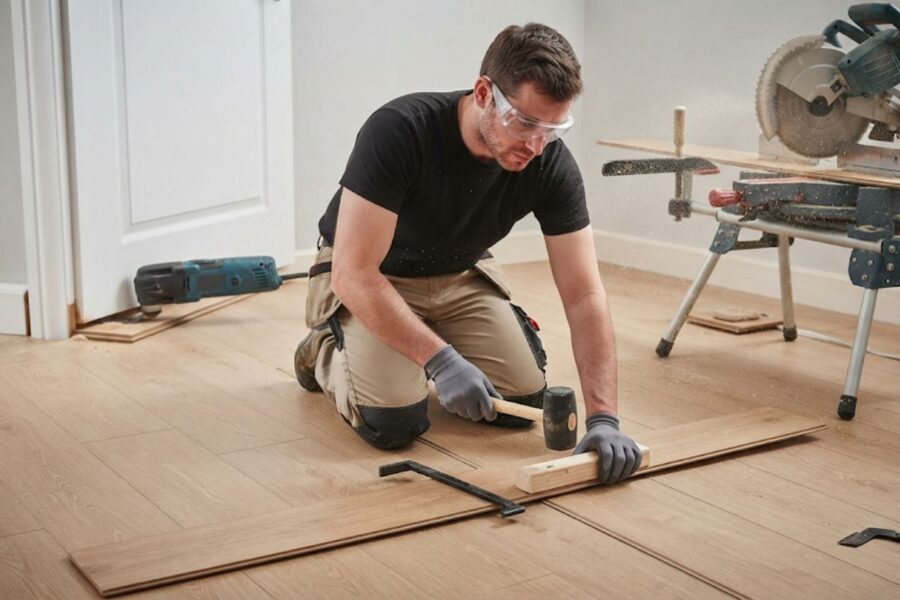
Waterproof laminate is a popular choice for kitchens, laundries and basements, but every room needs cut planks to finish a row, fit a doorway or get around a pipe. This guide explains how to cut waterproof laminate flooring cleanly, which tool suits each cut, which way up the plank should face, and how to protect cut edges and your lungs.
Quick answer
To cut waterproof laminate flooring, measure and mark the plank, then use the right tool for the cut. A fine-tooth carbide blade in a mitre saw or laminate cutter handles crosscuts. A circular saw or table saw handles long rips, and a jigsaw handles curves and notches. Put the decorative face down for a circular saw or standard jigsaw, and face up for a mitre saw, table saw or laminate cutter. Leave the expansion gap your manufacturer specifies, seal the perimeter in wet-prone rooms if the instructions call for it, and cut outdoors or with dust extraction while wearing eye and breathing protection.
What makes waterproof laminate different to cut?
Waterproof laminate cuts much like standard laminate, because the core is still a wood-based board. Most laminate planks have four layers: a clear wear layer, a printed design layer, a core of high-density fibreboard (HDF, compressed wood fibres bonded with resin) and a backing layer.
“Waterproof” laminate adds water-repellent treatments to the core and tighter, sealed locking joints. These help the surface and joints resist spills for a period set by the manufacturer. They do not make a freshly cut edge waterproof. The cut exposes raw core, so cut edges should always sit under skirting, trim or a sealed gap, never in a spot where water can pool.
The hard wear layer is the other reason cutting matters. It chips if the blade enters from the wrong side, and it wears down saw blades faster than ordinary timber.
Laminate or vinyl? Some products sold as “waterproof flooring” are actually rigid-core vinyl (SPC or LVP), not laminate. Vinyl planks score and snap cleanly with a utility knife. Laminate’s fibreboard core is harder to snap, so a saw or laminate cutter usually gives a neater result. Check your product label before you choose a method.
Tools for cutting waterproof laminate flooring
| Tool | Best for | Blade or setting | Decor face |
| Laminate cutter (guillotine) | Crosscuts and short angles, cut inside the room | Built-in shear blade | Up |
| Mitre saw | Crosscuts and angled end cuts | Fine-tooth carbide, about 80–100 teeth | Up |
| Circular saw | Long rips and long angled cuts | Fine-tooth carbide, about 60–80 teeth | Down |
| Table saw | Ripping the last row to width | Fine-tooth carbide | Up |
| Jigsaw | Curves, notches, cut-outs | Fine-tooth laminate blade | Down with a standard blade; up with a down-cutting blade |
| Oscillating multi-tool | Undercutting door frames and kick panels | Flush-cut wood blade | Not applicable |
| Utility knife | A few short cuts with no saw | Sharp, new blade | Up (score the face) |
You will also need a tape measure, pencil, square or straight edge, clamps, spacers, safety glasses, hearing protection and a fitted dust mask.
Which side up should laminate face when cutting?
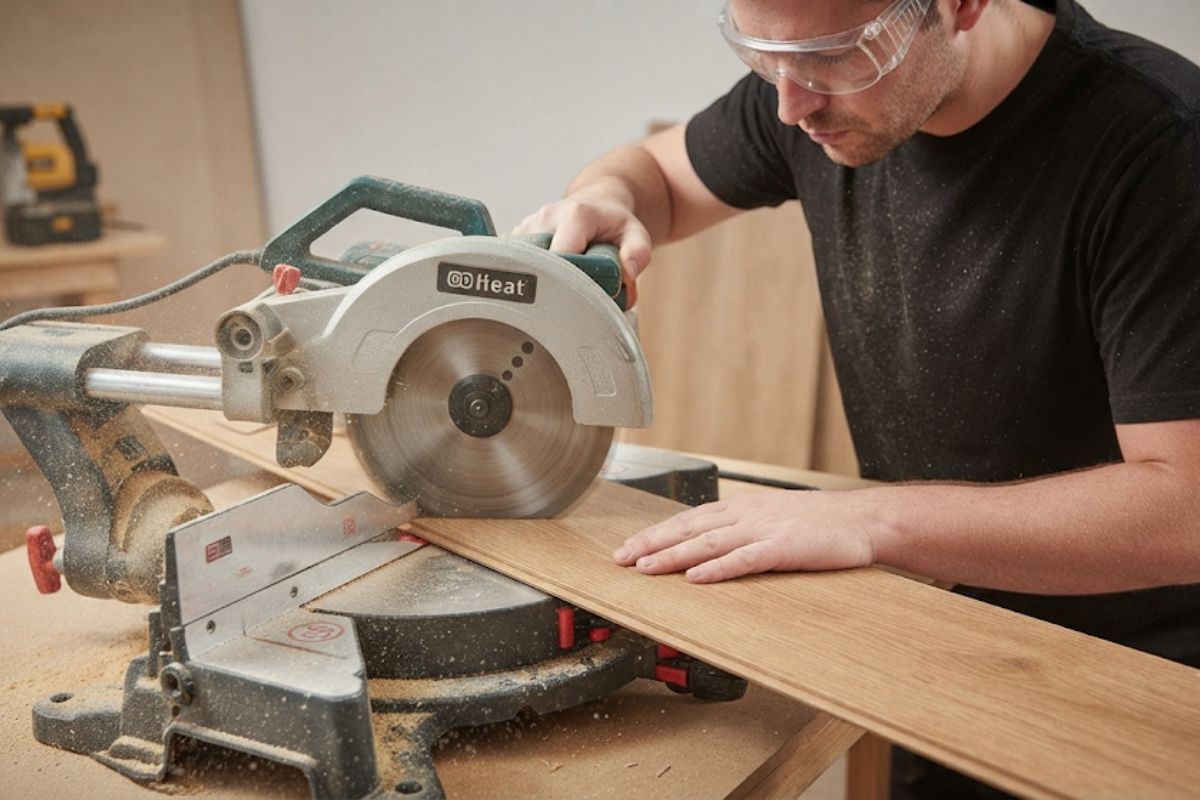
The decor face should sit on the side where the saw teeth enter the board. Teeth that exit through the face can lift and chip the hard wear layer.
- Circular saw: the blade cuts upwards, so place the plank face down.
- Standard jigsaw blade: it also cuts on the upstroke, so place the plank face down.
- Down-cutting (reverse-tooth) jigsaw blade: place the plank face up.
- Mitre saw and table saw: the teeth cut downwards into the top of the board, so place the plank face up.
When the plank is face down, mark your line on the back. Remember that the plank is now flipped, so check that your angle and the waste side are mirrored correctly before cutting.
How to cut laminate flooring: step by step
Straight crosscuts with a mitre saw or laminate cutter
- Measure the gap, subtract the expansion gap, and mark the plank face with a pencil and square.
- Put the plank face up, with its long edge firmly against the saw fence or cutter guide.
- Line the blade up on the waste side of the mark.
- For a saw, let the blade reach full speed and lower it smoothly. For a cutter, press the handle down in one firm motion.
- Support long offcuts so they don’t drop and snap the last few millimetres.
A laminate cutter is quiet, dust-free and can stay in the room you are working in. It cannot rip planks lengthways, and cut quality varies between models, so test it on a spare piece first.
Long rips with a circular saw or table saw
Ripping means cutting along the length of a plank, usually for the final row against a wall.
- Measure the gap at both ends of the wall, because walls are rarely straight. Subtract the expansion gap.
- Circular saw: place the plank face down on a stable surface, clamp a straight edge as a guide, and set the blade depth just a few millimetres below the board.
- Table saw: place the plank face up, set the fence to your width, and use a push stick near the blade.
- Feed at a steady pace without forcing the saw. Keep both sides supported so the cut doesn’t pinch.
Curves and notches with a jigsaw
Use a jigsaw for door-frame notches, around fixed cabinetry and anywhere a straight cut won’t work.
- Make a paper or cardboard template of the shape and trace it onto the plank.
- Clamp the plank so the cut area overhangs the bench, and support the offcut side.
- Cut slowly with a fine-tooth laminate blade, letting the blade do the work.
Masking tape over the cut line can reduce chipping on the face side if you have to cut through it.
Score and snap with a utility knife
Scoring works for a few short cuts when you don’t have a saw.
- Mark the line and hold a straight edge along it.
- Score the face with light passes first, then press harder on each pass.
- Line the score up with the edge of a bench and press down firmly on the overhanging side to snap it.
On thicker laminate the break can be rough, so keep scored edges where skirting or trim will hide them.
How to cut around door frames and pipes
Door frames
Undercutting the door frame gives a neater finish than notching around it.
- Lay a scrap plank face down on a piece of underlay against the frame.
- Rest a flush-cut multi-tool or handsaw on the scrap and cut through the frame and architrave.
- Remove the cut piece and slide the new plank underneath, keeping the expansion gap behind it.
Pergo’s installation instructions, for example, call for flooring to run at least ¼ inch (about 6 mm) under the door frame, with its expansion space still hidden behind it.
Pipes
- Mark the centre of each pipe on the plank.
- Drill a hole wider than the pipe, allowing the full expansion gap all the way round.
- Cut across the plank through the centre of the hole, fit the two pieces around the pipe, and glue the small offcut back in place if your instructions allow.
- Cover the gap with a pipe collar (rosette), and seal it if the room is prone to water.
Expansion gaps and wet-prone rooms
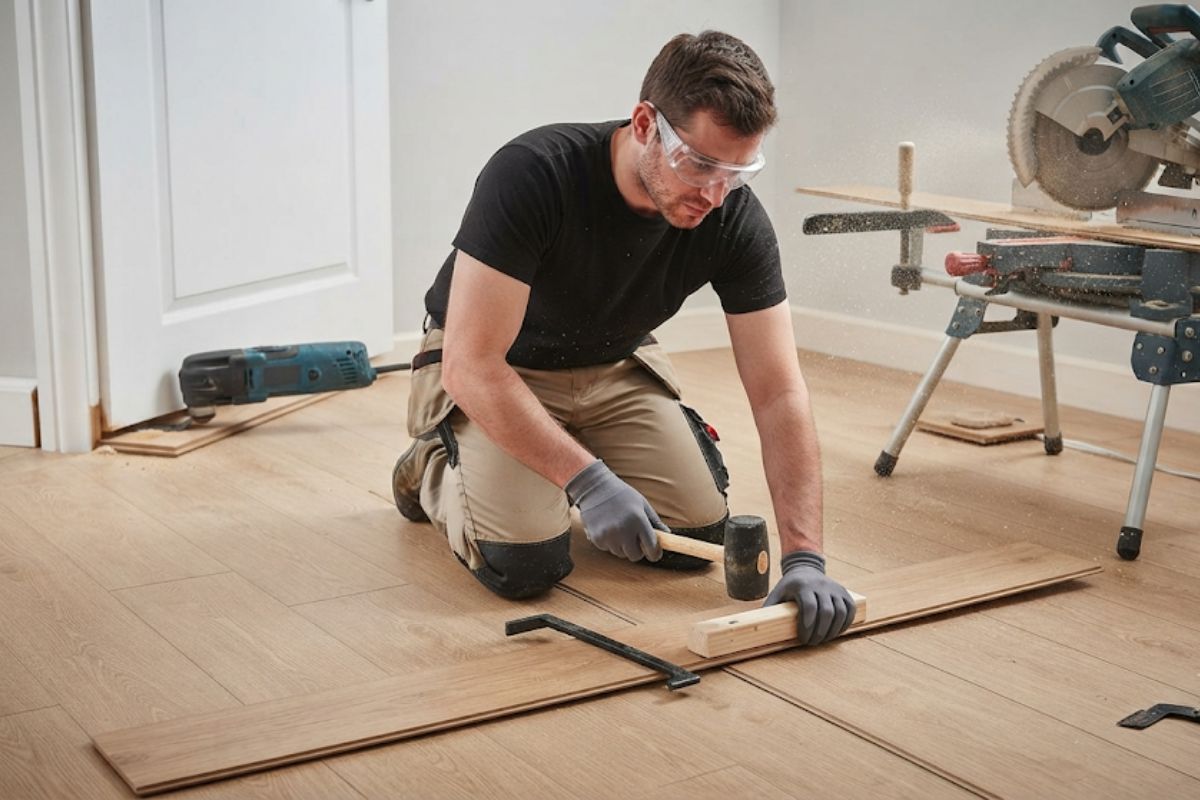
Laminate is a floating floor, meaning it isn’t fixed to the subfloor. It expands and shrinks slightly as humidity changes, so it needs a gap at every wall, cabinet, pipe and door frame. Without one, the floor can lift or buckle.
The gap size depends on the product. Pergo’s floor installation instructions specify ⅜ inch (about 10 mm) on all sides. Always follow the figure in your own product’s instructions.
In kitchens, laundries and other rooms with spill risk, some manufacturers require the perimeter to be sealed. Pergo’s guidance, for example, is to fill the gap with flexible foam and a permanent silicone sealant before fitting skirting. Before laying flooring in a kitchen or laundry, fix any dripping or leaking tap spindles and have a licensed plumber check for hidden leaks if you see stains or swelling.
Many laminate makers still say not to install their product in rooms with floor drains or where standing water is likely.
Dust and safety when cutting laminate
Cutting laminate produces fine dust from both the wood-fibre core and the resins that bind it. Breathing wood dust has been linked to respiratory symptoms, allergies and cancer, according to the US Occupational Safety and Health Administration (OSHA).
To keep exposure down:
- Cut outdoors, in a garage with the door open, or with a saw connected to a dust extractor.
- Wear a well-fitted disposable respirator (rated P2 in Australia, N95 in the US) rather than a loose dust mask.
- Wear safety glasses and hearing protection when using power saws.
- Clean up with a vacuum fitted with a fine filter. Don’t sweep vigorously or blow dust with compressed air.
- Clamp planks so they can’t move, and keep your hands clear of the cut line.
If you have asthma or another lung condition, cut outside where possible and speak to your doctor if dust triggers symptoms.
Tips for clean, chip-free cuts
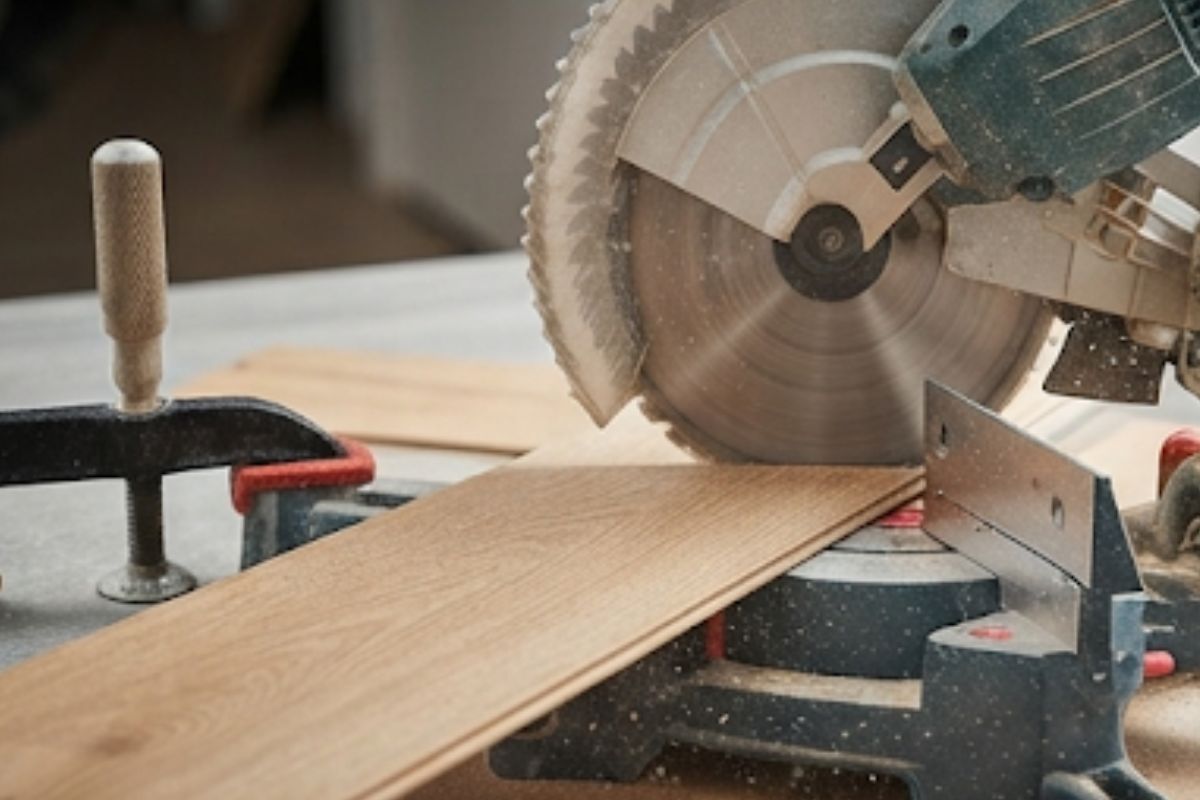
- Use a sharp, fine-tooth carbide blade. Laminate’s wear layer dulls blades quickly, so a blade that cut cleanly on day one may chip by the end of a large room.
- Practise on offcuts before cutting full planks.
- Cut slightly on the waste side of your line, then trim if needed.
- Measure each row separately. Walls are rarely straight, so one measurement rarely fits every plank.
- Keep cut edges against walls. Place factory edges where planks meet in the open floor, and hide cut edges under skirting or trim.
Getting a professional finish
Clean cuts come down to the right tool, a sharp blade, the correct face orientation and careful measuring. Keep cut edges hidden, leave the expansion gap your product needs, and protect yourself from dust. If you’re facing complex angles, stairs or a room with water risk, a professional floor installer can save expensive mistakes. For more practical guides, browse our home improvement articles, including how to restore parquet flooring without sanding.